Getting started
Signing in
Open the tigerdistribute application in your browser. You are greeted by a centered sign-in card titled tigerdistribute (“Distribution management”).
Enter your Email and Password and click Sign in. While the platform checks your credentials the button reads Signing in….
If the credentials are wrong, the message “Invalid email or password” appears under the password field. Try again or contact your administrator for a password reset.
On success you land on the Dashboard.
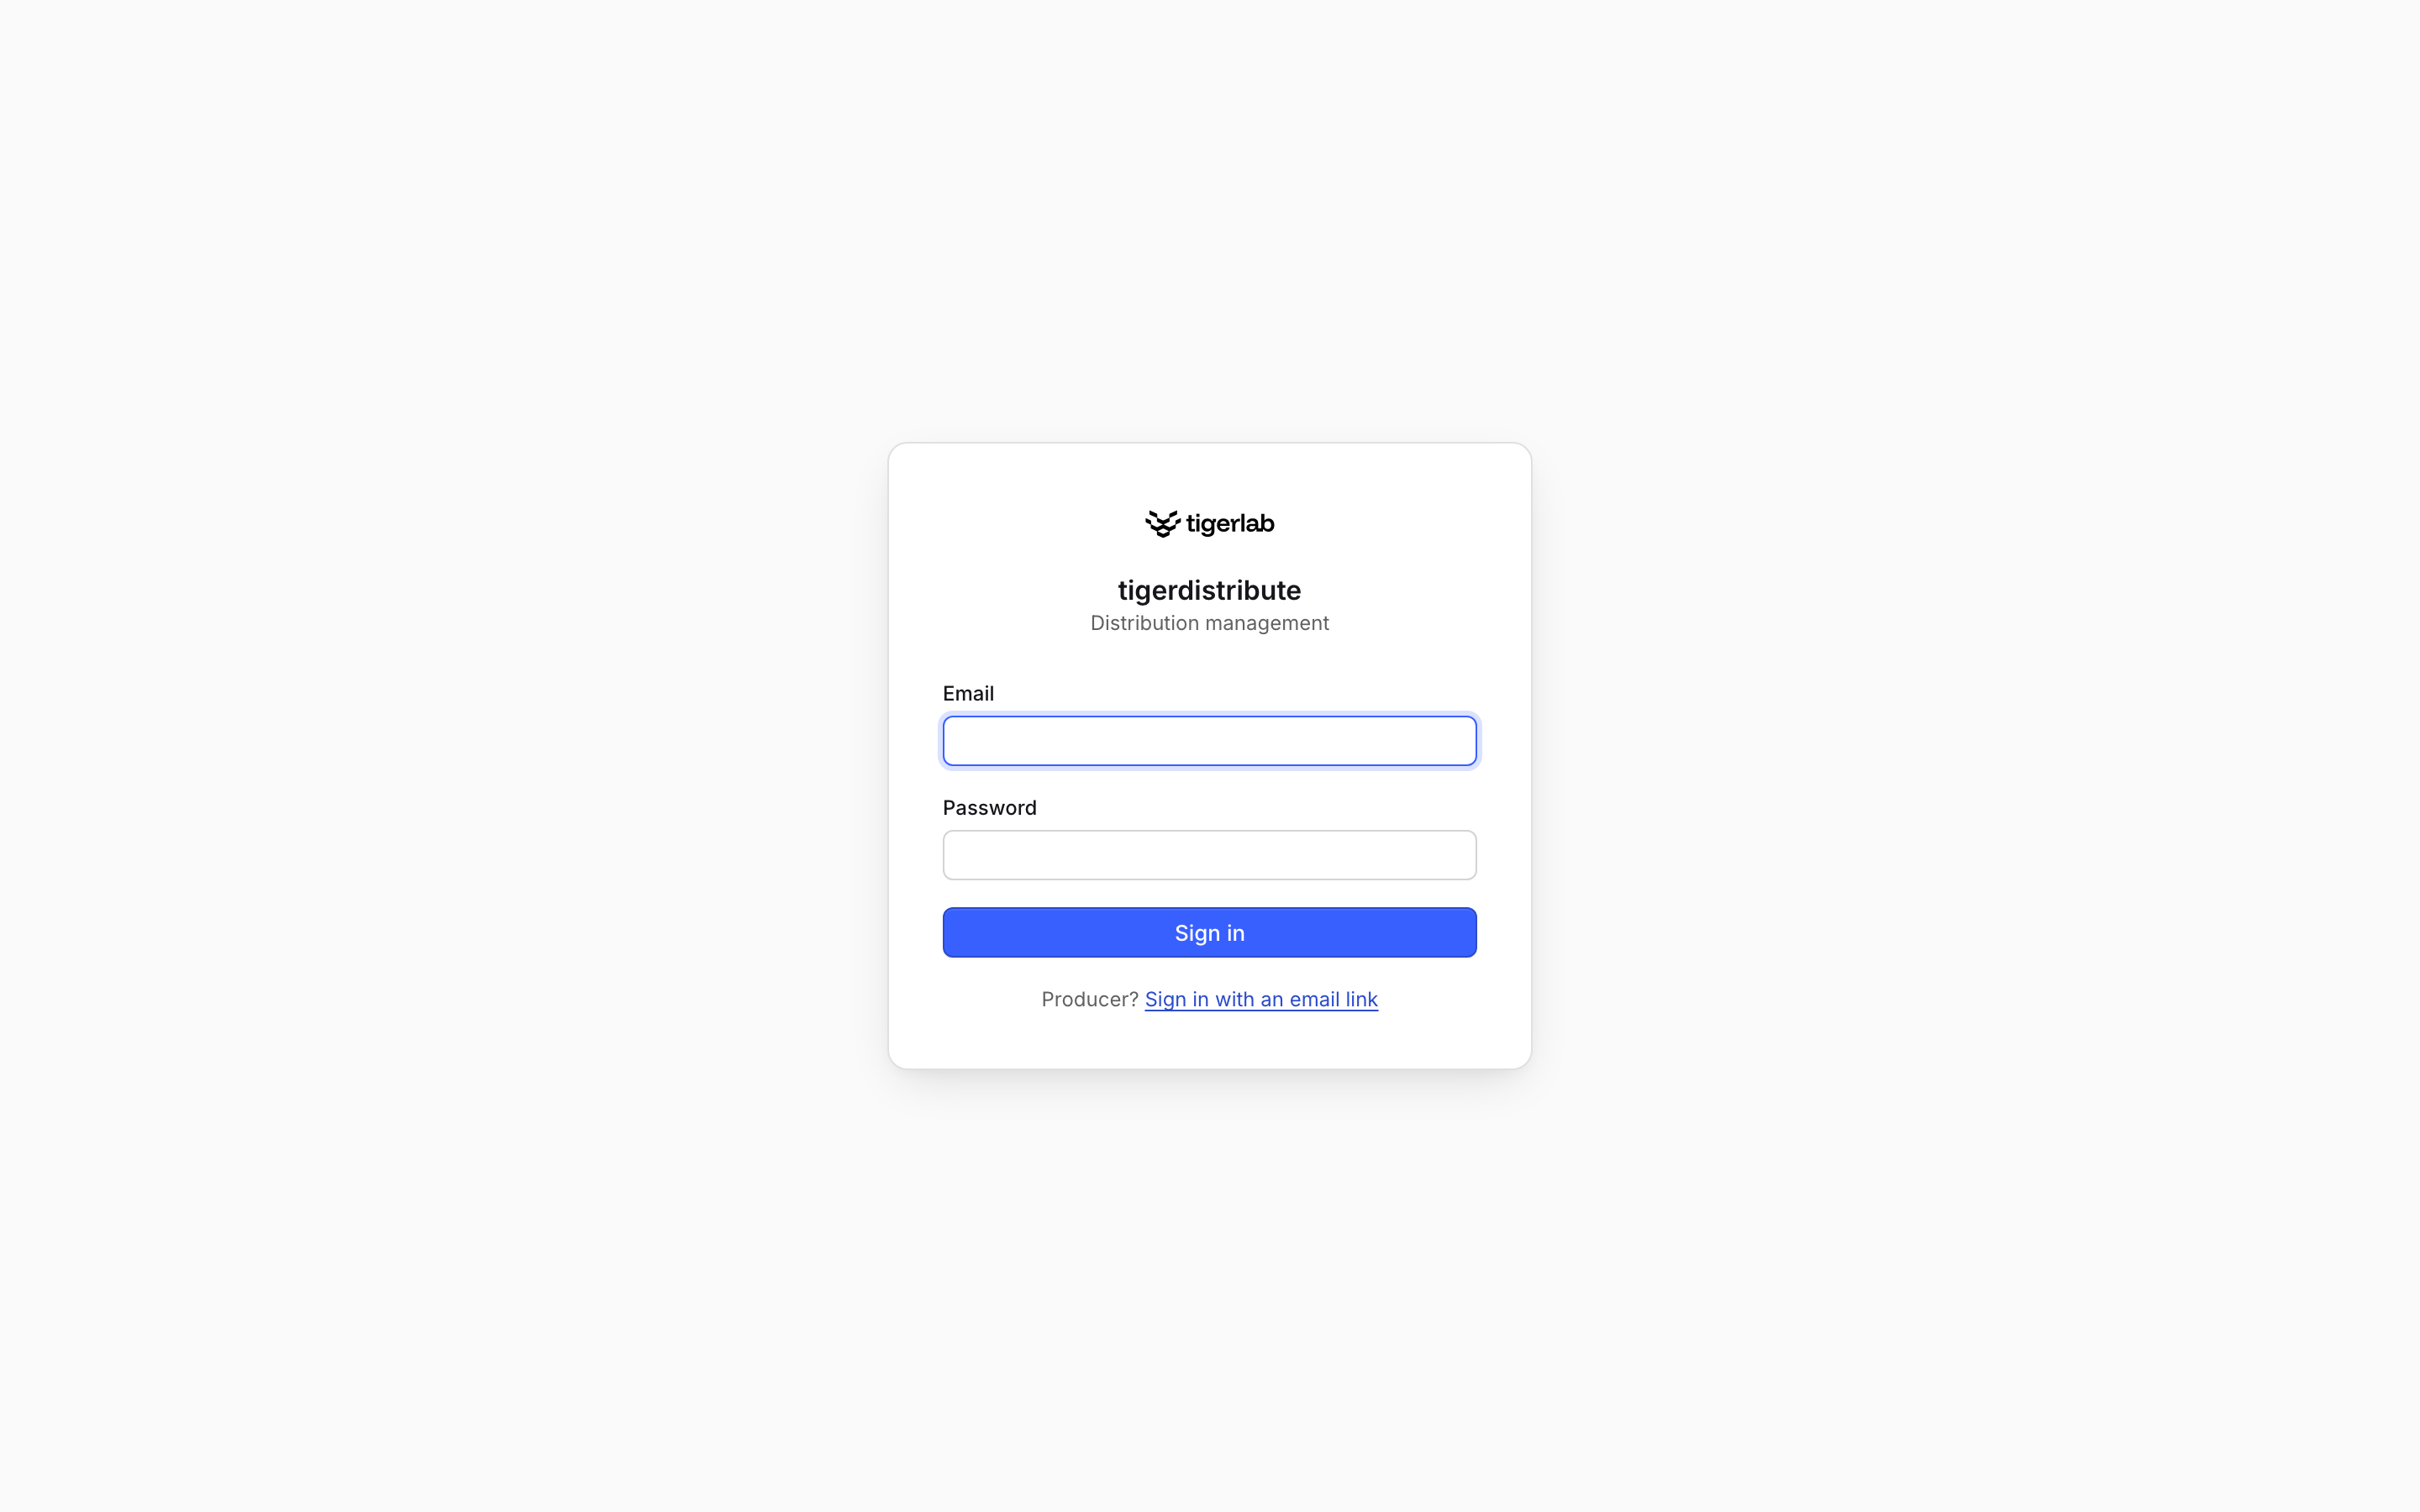
The sign-in screen. Staff sign in with their email address and password; producers use the “Sign in with an email link” option (The producer portal).
Note
Your account is created by your tenant’s administrator (see Tenant setup & administration). You sign in with your email address — there are no usernames. If your session expires or your access is revoked, the app automatically returns you to the sign-in page.
Choosing a tenant
After signing in, the platform loads the tenants (organisations) you belong to.
If you belong to exactly one tenant, you are placed in it automatically.
If you belong to several, use the tenant switcher — the chip at the left of the top bar showing the tenant’s initial and name. Click it to open the Tenant menu, where the current tenant is marked with a checkmark, and select another to switch. Everything you see and do applies only to the currently selected tenant.
If you see the warning “You are not a member of any tenant.”, your account exists but has not yet been granted access to an organisation — contact your administrator.
Finding your way around
The application has a fixed layout: a sidebar on the left for navigation, a top bar with utilities, and the main content area.
The sidebar groups the screens by the job you are doing rather than listing them flat. Six labelled groups sit beneath the Dashboard, which is the launchpad you return to:
Group |
Screen |
URL |
What it is for |
|---|---|---|---|
(launchpad) |
Dashboard |
|
At-a-glance counters and the “needs attention” work queue. |
Network |
Producers |
|
Directory of all producers; click a row for the full record (the Producer Hub). |
Onboarding |
|
Invitations and applications from prospective producers. |
|
Hierarchy |
|
The upline/downline network and book-of-business transfers. |
|
Compliance |
Compliance |
|
Alerts raised by license/E&O/CE monitoring. |
Appointments |
|
Regulatory appointment filings and their lifecycle. |
|
Compensation |
Contracts |
|
Producer agreements and their e-signature lifecycle. |
Commissions |
|
Commission plans, statements, splits and payouts. |
|
Performance |
Targets |
|
Production goal plans and attainment tracking. |
Incentives |
|
Incentive programs, rules and award payouts. |
|
Scorecards |
|
Producer leaderboard by composite score. |
|
Data |
Ingestion |
|
Bordereaux imports and the resulting policy/commission batches. |
Bulk jobs |
|
History of every bulk operation, with per-row outcomes. |
|
Reports |
|
Downloadable CSV extracts of live tenant data. |
|
Setup |
Settings |
|
Reference data, contract templates, tiers and tenant options. |
(Producers with portal access sign in to a separate area, /portal
— see The producer portal. Staff never see it, and portal users
never see these screens.)
The top bar also hosts global search — click Search… or press ⌘K (Ctrl+K on Windows/Linux) to open the search palette, type a couple of characters of a producer, contract, appointment, license, statement or alert, and use the arrow keys and Enter to jump straight to the record — and, on the right, in order:
Notifications — the bell, with an unread badge. It collects what needs your attention (new applications, signed contracts, critical compliance alerts, commission disputes, finished bulk jobs); clicking an entry marks it read and takes you to the record. Mark all read clears the badge.
Toggle sidebar — collapse or expand the navigation.
Density — cycle the display density of tables.
Theme — switch between light and dark mode.
Sign out — end your session.
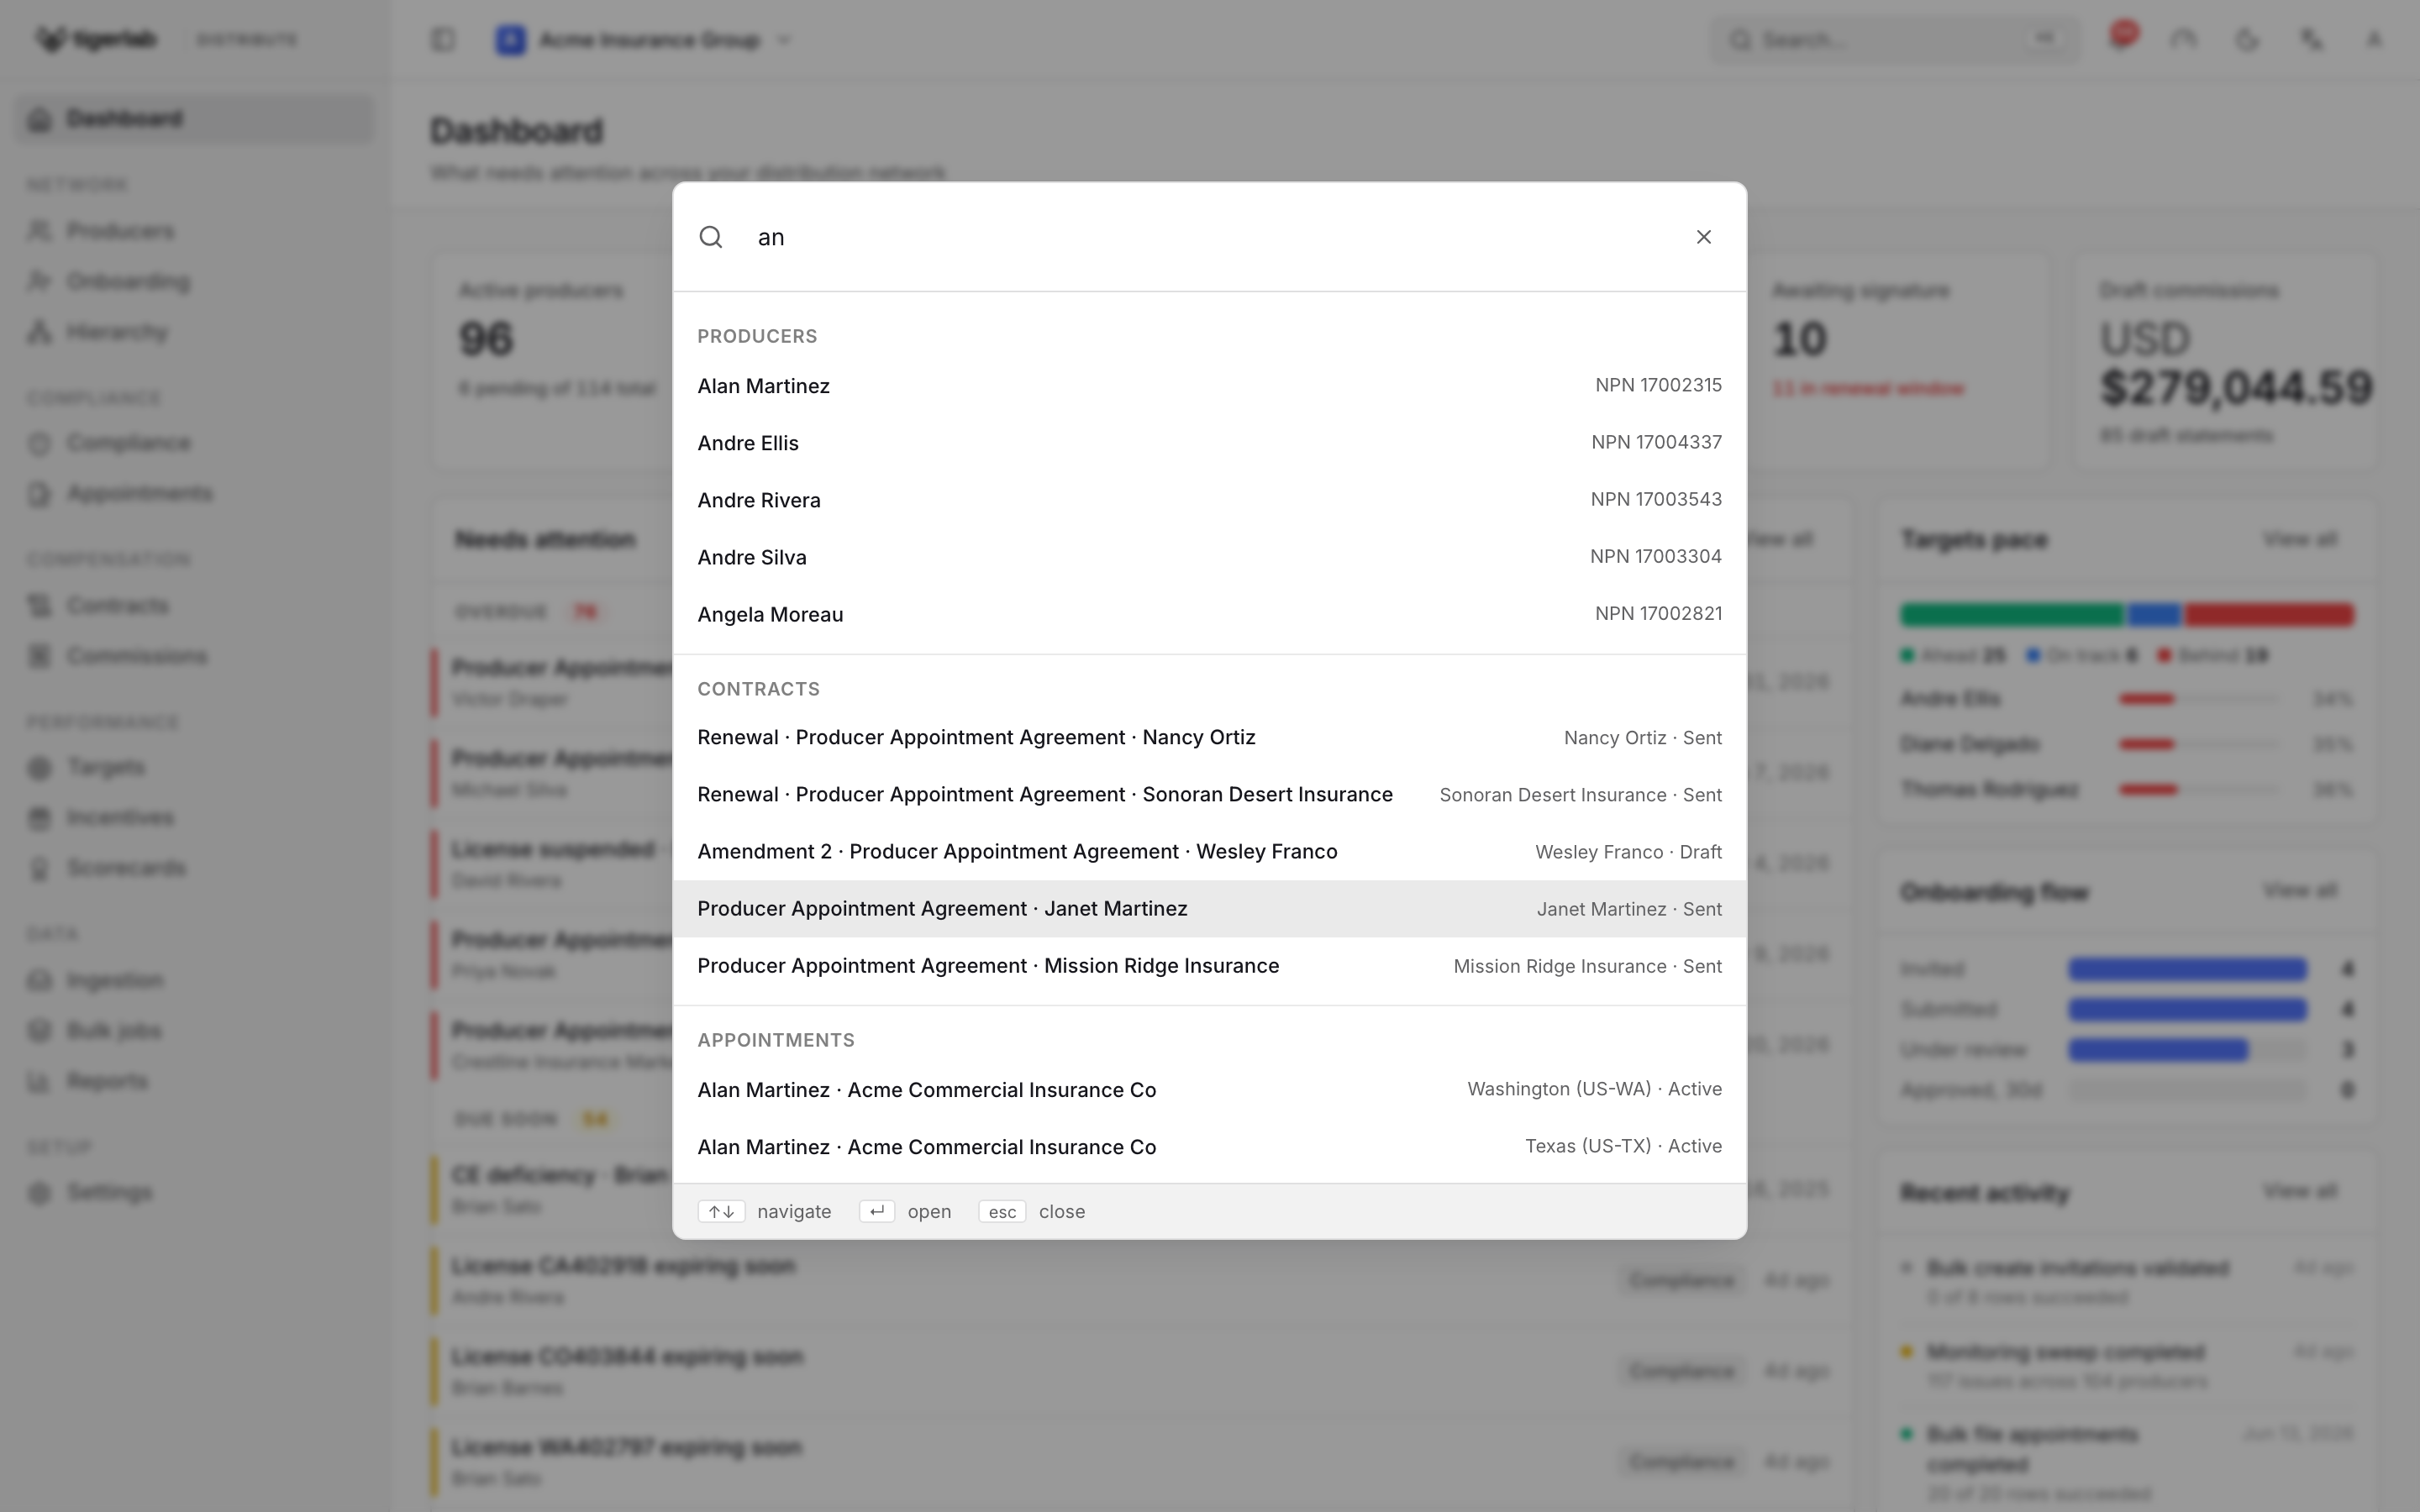
Global search (⌘K) jumps straight to any producer, contract, appointment, license, statement or alert — grouped by kind, with arrow keys and Enter to open.
The Dashboard
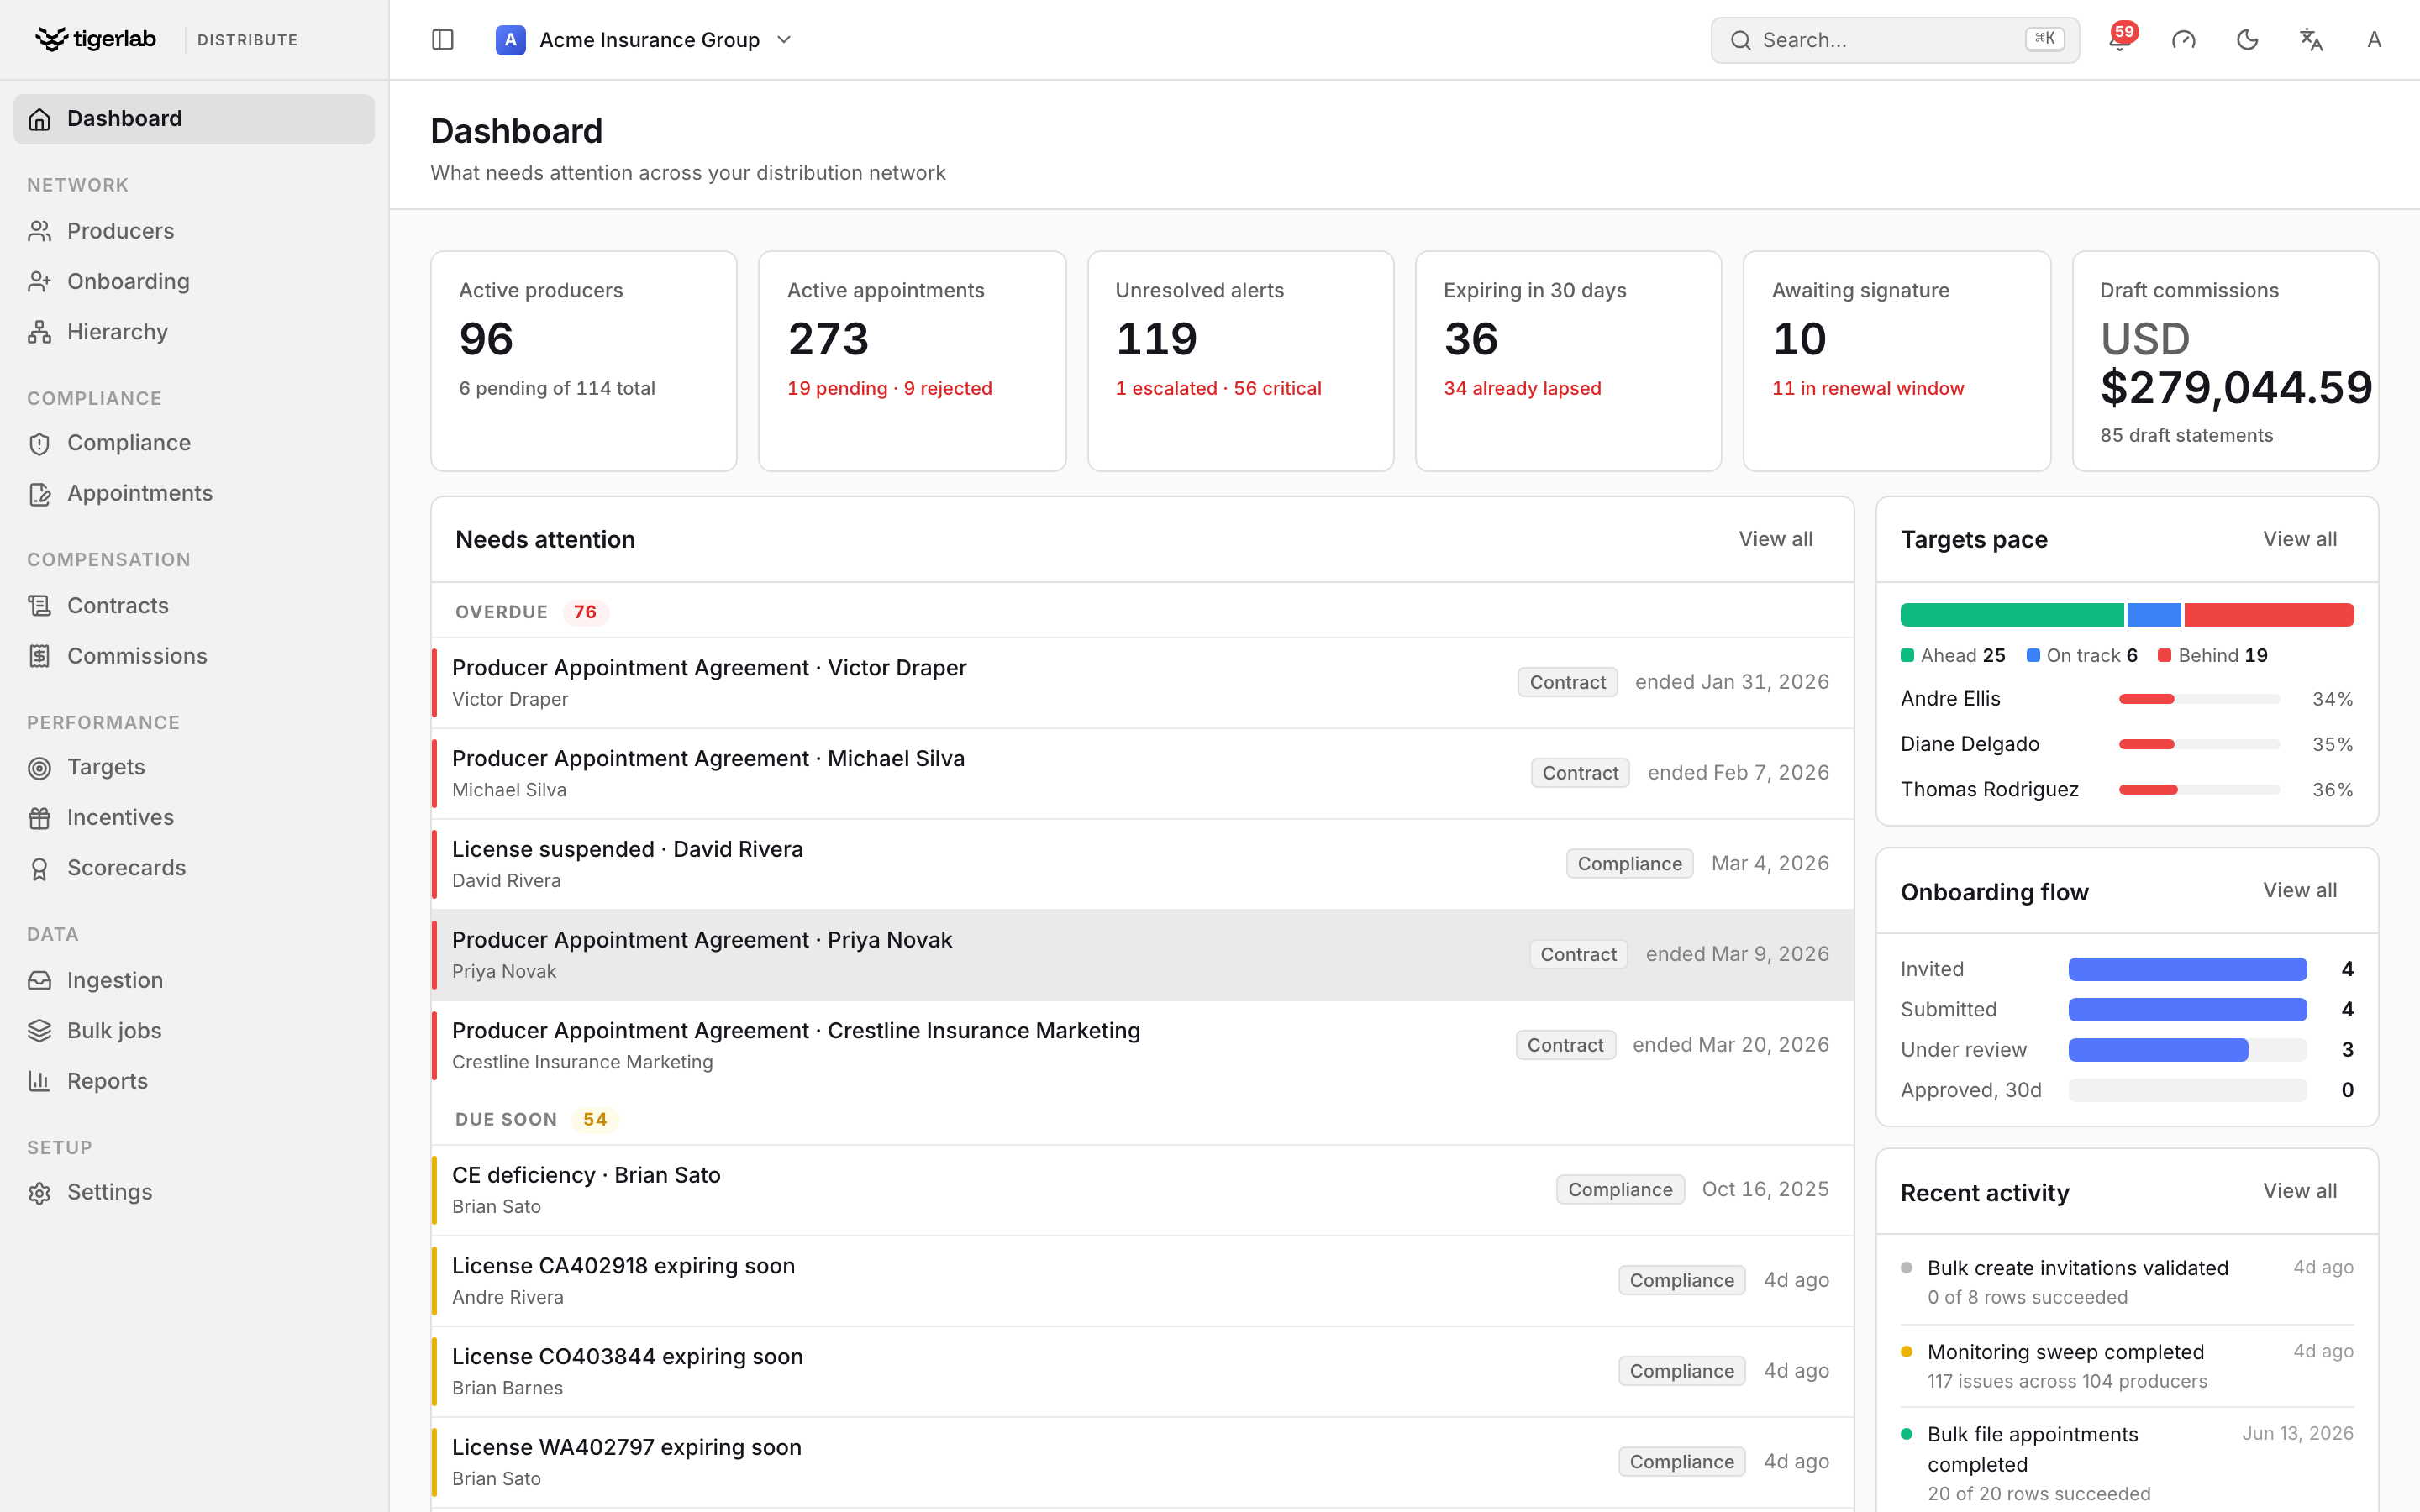
The Dashboard: KPI counters across the top, the Needs attention work queue in the centre, and targets pace, onboarding flow and recent activity down the right. Every row deep-links to the record it concerns.
The Dashboard opens with the key counters for the current tenant (producers, active producers, active appointments, open compliance alerts) and is built around the Needs attention work queue, in three bands:
Overdue — lapsed credentials and expired items;
Due soon — expirations and deadlines approaching;
Waiting on you — contracts awaiting signature or renewal, applications awaiting review, pending appointment filings.
Every row deep-links into the record it concerns, so the Dashboard is the natural place to start the day. Below the queue sit the onboarding funnel, targets pace and recent activity.
UI conventions used throughout
- Status badges
Every record with a lifecycle shows its status as a coloured pill: green for healthy/final-good states (active, approved, signed, completed, confirmed, matched, ahead), yellow for waiting states (pending, warning), blue for in-progress states (submitted, under review, sent, viewed, on track, simulated, filed), red for problem/terminal-bad states (rejected, terminated, suspended, expired, behind, variance, critical, error) and gray for neutral ones (draft, withdrawn, revoked).
- Filter tiles
Screens such as Onboarding, Appointments, Compliance and Contracts show a row of clickable KPI tiles (for example Needs review, Drafts, Approved, Rejected). Click a tile to filter the table to those records — the active tile is highlighted — and click it again (or use Clear filter) to remove the filter.
- Pages, drawers and modals
The platform follows one rule for where a record opens. A record you reach from a top-level list — an appointment, a compliance alert, a contract, a commission statement, plan or payout, an incentive award, a bulk job, an application or a scorecard — opens as a full detail page with its own address: a breadcrumb back to the list, the record’s lifecycle actions in the page header, a one-line status summary, and the detail below. The same kinds of records, when you reach them from inside a producer’s own record (the Producer Hub), open in a drawer that slides in from the right so you keep the producer in view. Short create/edit forms and confirmations open in a centered modal; a small reason or reference is captured inline, without stacking a second window on top. Required fields are marked on their labels, and validation problems are shown inline under the field or as a red banner.
- Toasts
Every successful action is confirmed with a brief toast notification (for example “Appointment confirmed — Jane Doe is active”).
- Lifecycle buttons
The actions offered on a record depend on its current status — for example a pending appointment offers Confirm… and Reject, while an active one offers Terminate…. If a button you expect is missing, check the record’s status; the platform only offers transitions that are valid from the current state.